Tuesday, October 30, 2012

Hydrangea Wreath

In my last post I wrote about the hydrangeas my co-worker brought to me so I could make a wreath with them because I've seen such beautiful ones on Pinterest recently.  Several people have asked me what I did with the flowers so here it is! 


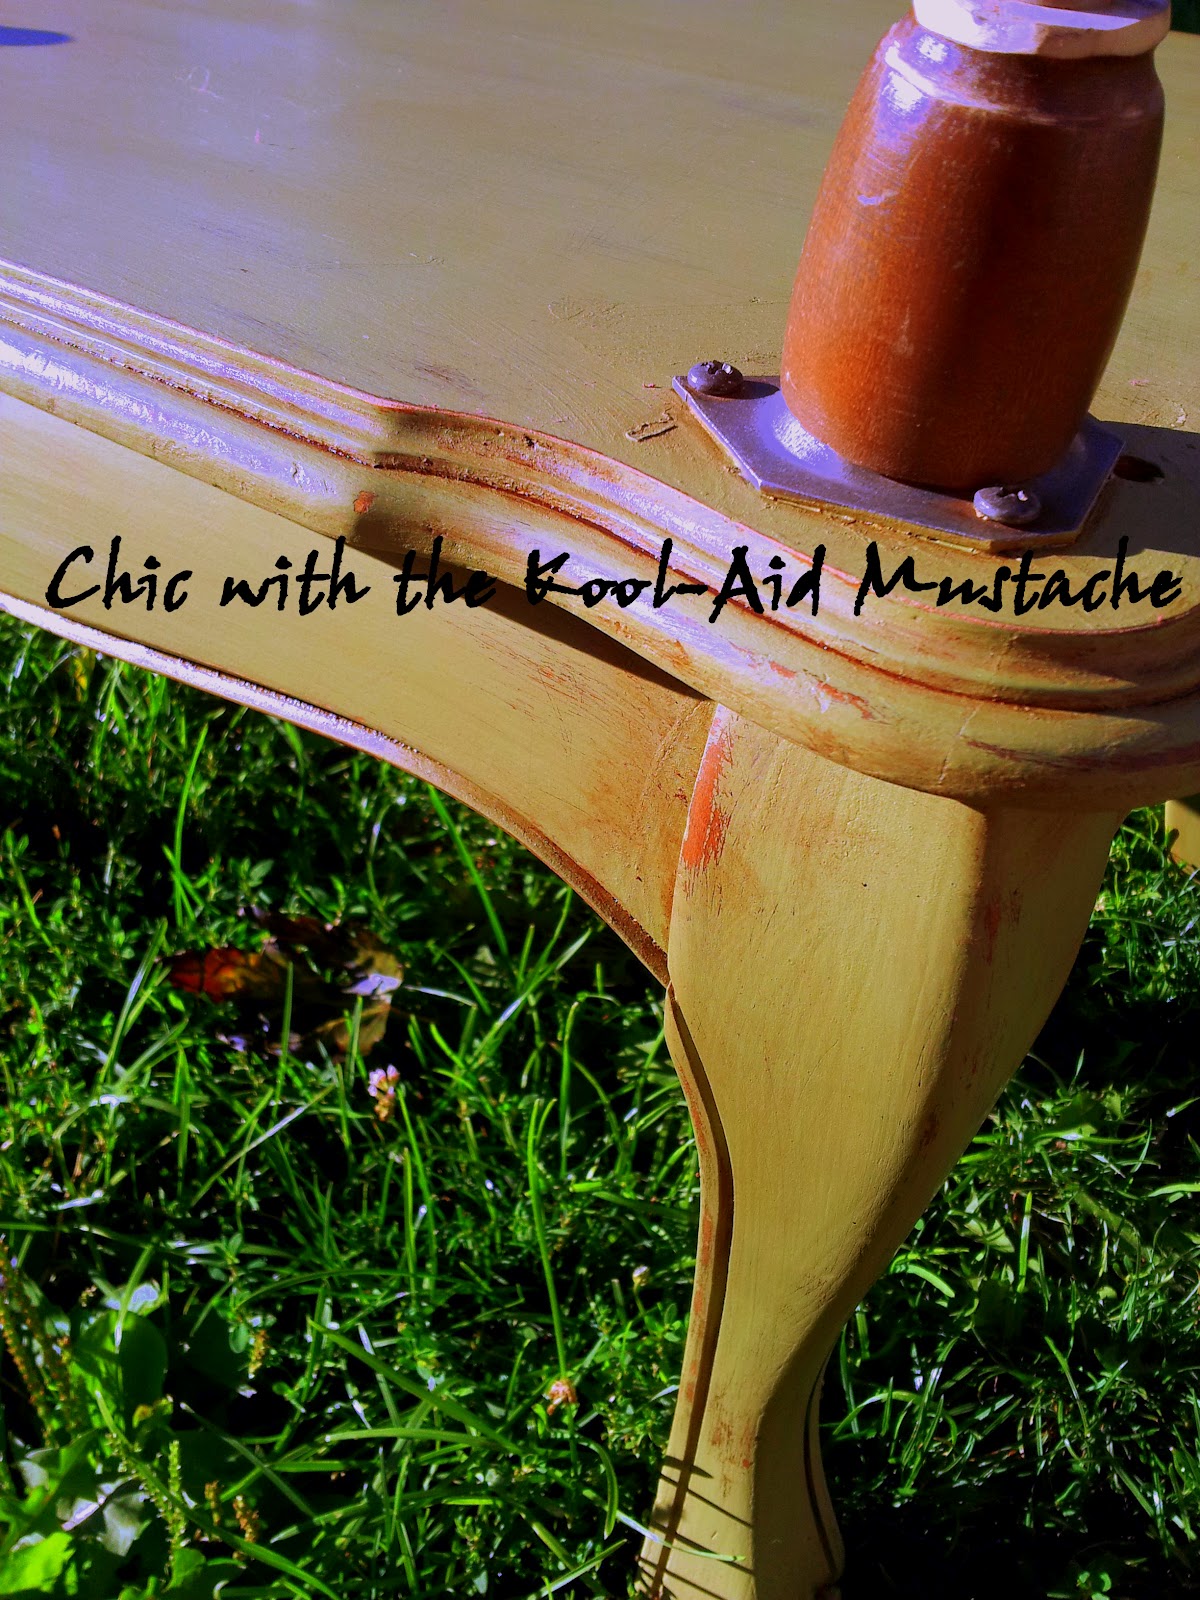
 I hung it temporarily on the door to the man-cave because I thought the hunter green would show off the beautiful color of the flowers and it looked good.  I wasn't completely taken with my wreath, I have a 'thing' about spacial issues and the fact that my spiraled grass seed sprigs (fronds?) aren't evenly spaced would eventually drive me nuts. 

Then a hurricane named Sandy came along...but let me show you how I made this first.  Hiding behind my behemoth butterfly tree bush is this patch of wild grass.  I planted it years ago to kind this corner of the house and the gas meter...needless to say it's kinda taken on a life of it's own. 


 It produces these lovely whispy seed thingies that I thought would add a little whimsy to my wreath so I cut a bunch off and just began stuffing it into the grapevine wreath I picked up at our local thrift shop for $1.29.


My intent was to just kinda randomly place them around the outside but before I knew it my inner balancing nature took over and I found myself trying to 'evenly' place them around the wreath.  
Uggg...why do I do that to myself everytime?


After I had them all placed where I want them I pulled out this old hot glue-pot.  Yea I know it's ancient, don't be hater of my vintage tools!  I bought that pot and a whole bag of melting glue (circa 1985) for $.50 at a yard sale.  I remembered when I used this type of glue and pot years ago the glue seemed much stronger then the stuff I use in my glue gun so I chose this to put the flowers on with. 


 I began gluing the flowers to the wreath in random order because I really wanted the feel of the wreath to be free-flowing


Here it is all done and on the window of my front porch which ended up being it's final resting place. It was getting dark out so the pictures aren't that great but you get the idea.


Here it is on my front door but I couldn't leave it there for now because I don't have a hanger to accommodate the door...yet.  Perhaps if I nag ask my hubby again to replace the screen insert with the glass insert I can return it to the door.


 Looks pretty good doesn't it?  

Until

Sandy entered our lives!

The storm of the century, Stormageddon, Superstorm aka Hurricane Sandy finally hit us.Although we're hundreds of miles from the coast the massive size of this hurricane had far reaching winds and rain and we dealt with some pretty powerful winds.  Needless to say my beautiful new wreath didn't fare so well...I looked outt he window last night to see if there was any damage I could see yet and saw this!


Yikes...my seed thingies poofed!


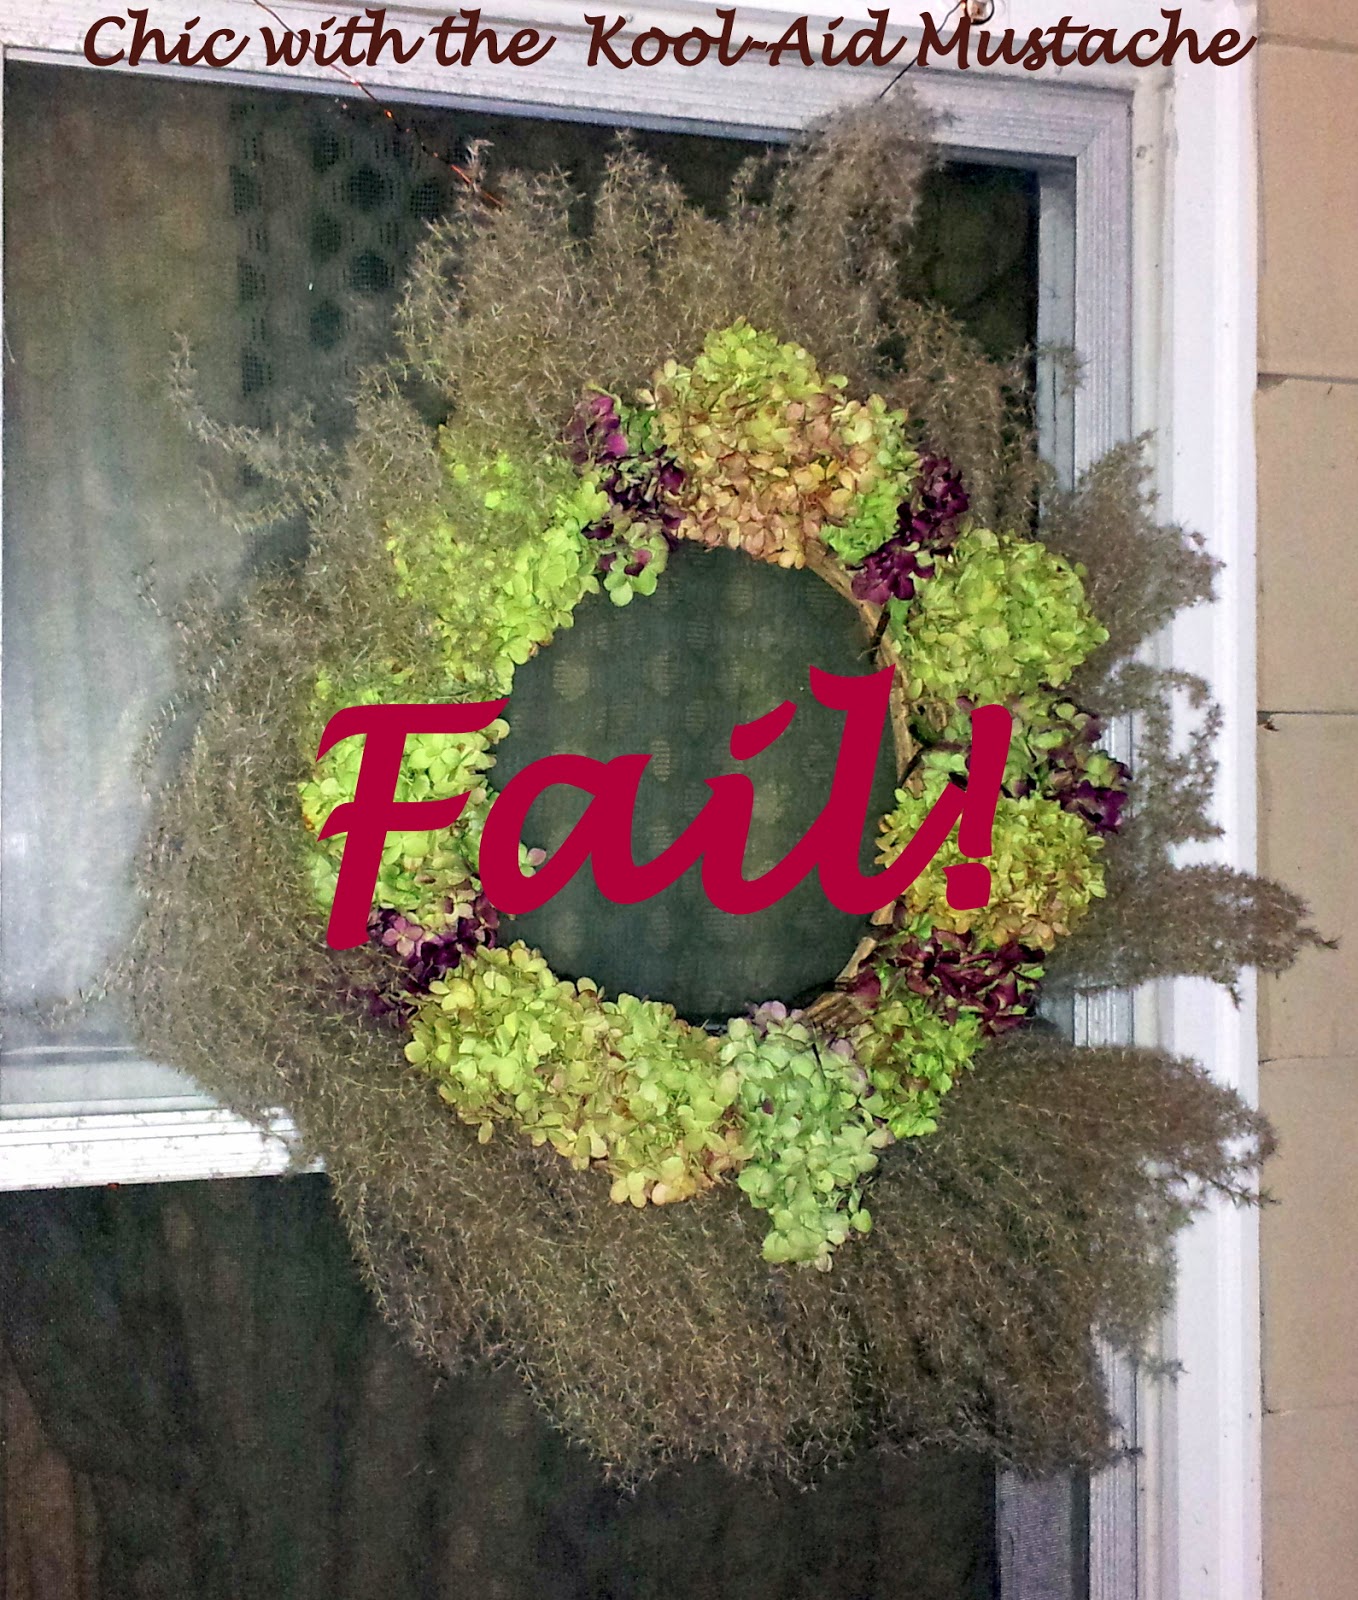
Oh well...it was fun to make!

Thursday, October 11, 2012

Dried Flowers

I remember decorating with dried flowers in my first big girl place of my own.  I had a few roommates and they were cheap materials to decorate with...anyone remember the yard sticks covered in paper ribbon ruffles and adorned with Baby's Breath and German Statice?  As I began to start my family and crafting became my outlet I made TONS of those kind of things and gave them to everyone I could think of.  I'm pretty sure my former Sister-in-Law "Tink" still has one I made over 20 years ago hanging in her house! 

Fast forward 20 years or so and Feng Shui becomes all the rage and I discover having dead things in your home doesn't create good feng shui in your home and Lord knows I didn't need any bad!  I threw every last bit of dried stuff out and got rid of all it.  I decided only live things would dwell in my home from that point on and since I don't have quite the green thumb my mother does I consequently don't have many live plants these days either!

Recently I've seen tons of projects with dried hydrangeas and although I've always loved them I don't have any so I could only look at my computer monitor and dream.  Until today!  My co-worker trimmed her bushes this morning and brought me in a huge bouquet of them!  I can't wait to dry them and make a wreath for my front door.  That's not technically "IN" the house...right?


Friday, October 5, 2012

A Bed for Casey

I fell in love with coffee/side tables that have been re-purposed into dog beds and although I don't have a dog of my own right now it didn't stop the urge to make one.  I couldn't quite get SF to buy into the project since we don't have one and my argument that we had a friend who had a dog didn't weaken his resistance.  I knew for me to make this happen it would have to cost next to nothing so he couldn't argue...right?

Pinterest and the blogs I visit have all been a buzz about this stuff called chalk paint and the technique of using the chalk paint and sealing/finishing it with wax.  There are specialty paints and waxes that can be purchased on the internet through bloggers and dealers but it's pretty expensive. And, well...I'm cheap frugal and would never spend the money to buy it when I'm buying Ooops paint from the Mart and Menards for my painting projects.  There are also lots of DIY versions of the chalk paint that I'd seen and I was on the verge of taking the plunge when I came across this blog post where she compared 2 DIY versions against the real thing and I was convinced. 

One of shopping trips to the ReStore, as I've blogged about here, netted this ugly side table that had seen better days.  It must have had some trim on the corners that had been removed. 


I looked at the price, $5...wow, it sure was in rough shape but luckily it was a yellow tag item which was 50% off!  I could hardly pass that deal up.  After all I was just gonna turn it upside down anyway for my project.  All I needed now was something to make legs out of and I was sure in my bucket-o-spindles & posts that would work.
 Although she was ugly and well loved but she still had gorgeous legs!  I found some old table legs in my bucket-o-stuff and SF screwed them to the top for me.

I mixed up a batch of chalk paint, using the plaster of paris recipe, in a greenish color that I think will fit into the rest of Liz's decor and I got to painting.  The joy of this chalk paint is there is no sanding or prepping before...you just paint.


I put two coats on and let it dry then began to distress the edges and spots that would get worn naturally.  I distressed lightly just to reveal the raw wood beneath.  I gave it a coat of wax and let it dry and then buffed it.  The wax truly did transform the paint and buffed to a nice sheen. 


Once I had it all buffed then I wanted to darken it slightly but didn't have the dark wax called for so I used some antiquing glaze and just painted the entire piece and then wiped it off, leaving the glaze left in the grooves and nooks of the table.


I liked the results and it toned down the green a bit as well.  I took the little legs off to paint separately and then got to waxing and buffing the table and legs again.


It's hard to capture the difference buffing the wax has on the paint with my cheap camera so this is the best I could get.

*Happy photo edit gone wrong pic but it turned out cool so I'm including it*


This pic was just to see what it would look like and I had something to send to Facebook.  The sun was just right so it shows the finish really well.  I found some pillow shams that matched relatively well and made the bed and put it out in the yard to photograph.


By the time I got back outside with my camera, my shadow Chester had figured this must be his new bed and was making himself pretty comfy.


He was pretty sure that bed was his and protested when I told him to get off.

I hope Miss Casey likes it just as much!

Wednesday, October 3, 2012

Epic PoP Fail

Do I even need words?

I was attempting to make a batch of chalk paint and the tub of Plaster of Paris just disintegrated in my hand and fell with a spectacular thud and finished disintegrating...oy vey!