One of the first blogs I began to follow in earnest after discovering the blogisphere is My Repurposed Life. I fell in love her benches as soon as I saw her first tutorial and just knew I would be making one...never mind that I didn't even have a headboard/foot-board to use for such a project! I read as many of her tutorials and looked at all of her posts on this kind of project as I could find as well as other bloggers over the past year.
I was on the lookout for headboards and foot-boards at yards sales and thrift shops and could never find anything I thought would work well, and lets face it...price, cause I'm cheap...thrifty...frugal. Whenever SF would see me looking he would ask what I was going to do with it, I would mumble 'project' and that look of "what's she up to now" would come over his face. One day I shared some of my Pins of the benches and my need to make one...he was intrigued, but not sold. I also shared them with my friend Liz and a few months ago Liz made me a proposition. She had an antique bed that belonged to her daughters Paternal grandmother, the bed was broken beyond use as a bed anymore and she asked if I'd make it into a bench for her daughter. It could never be a bed again, but it would still be a piece of heirloom-ish piece of furniture from her Grandmother. I took the challenge!
Then I saw the pieces!

The top rails were off both ends and all the spindles were out, the bottom rail for the spindles was broken on the headboard, and both curved corners on the foot-board were broken, again...the attempts at repairs evident. I only had 5 of the longer headboard spindles that I was able to piece together so I could take a picture of it all.

It also came with the side rails which were in pretty great shape still.

I decided to use the foot-board but had to use the top rail from the headboard because the two corner pieces weren't broken. It had the same number of spindles so I figured the holes would still line up.
SF became my reluctant partner in this endeavor and it was right about this point that I needed his help! We did some measuring and figuring, trying to use only the original pieces we had we began to formulate a plan. He cut the headboard off just above the bottom rail, and then cut the end off each of the sideboards. We had to take it in the house to work on it because suddenly it was winter!
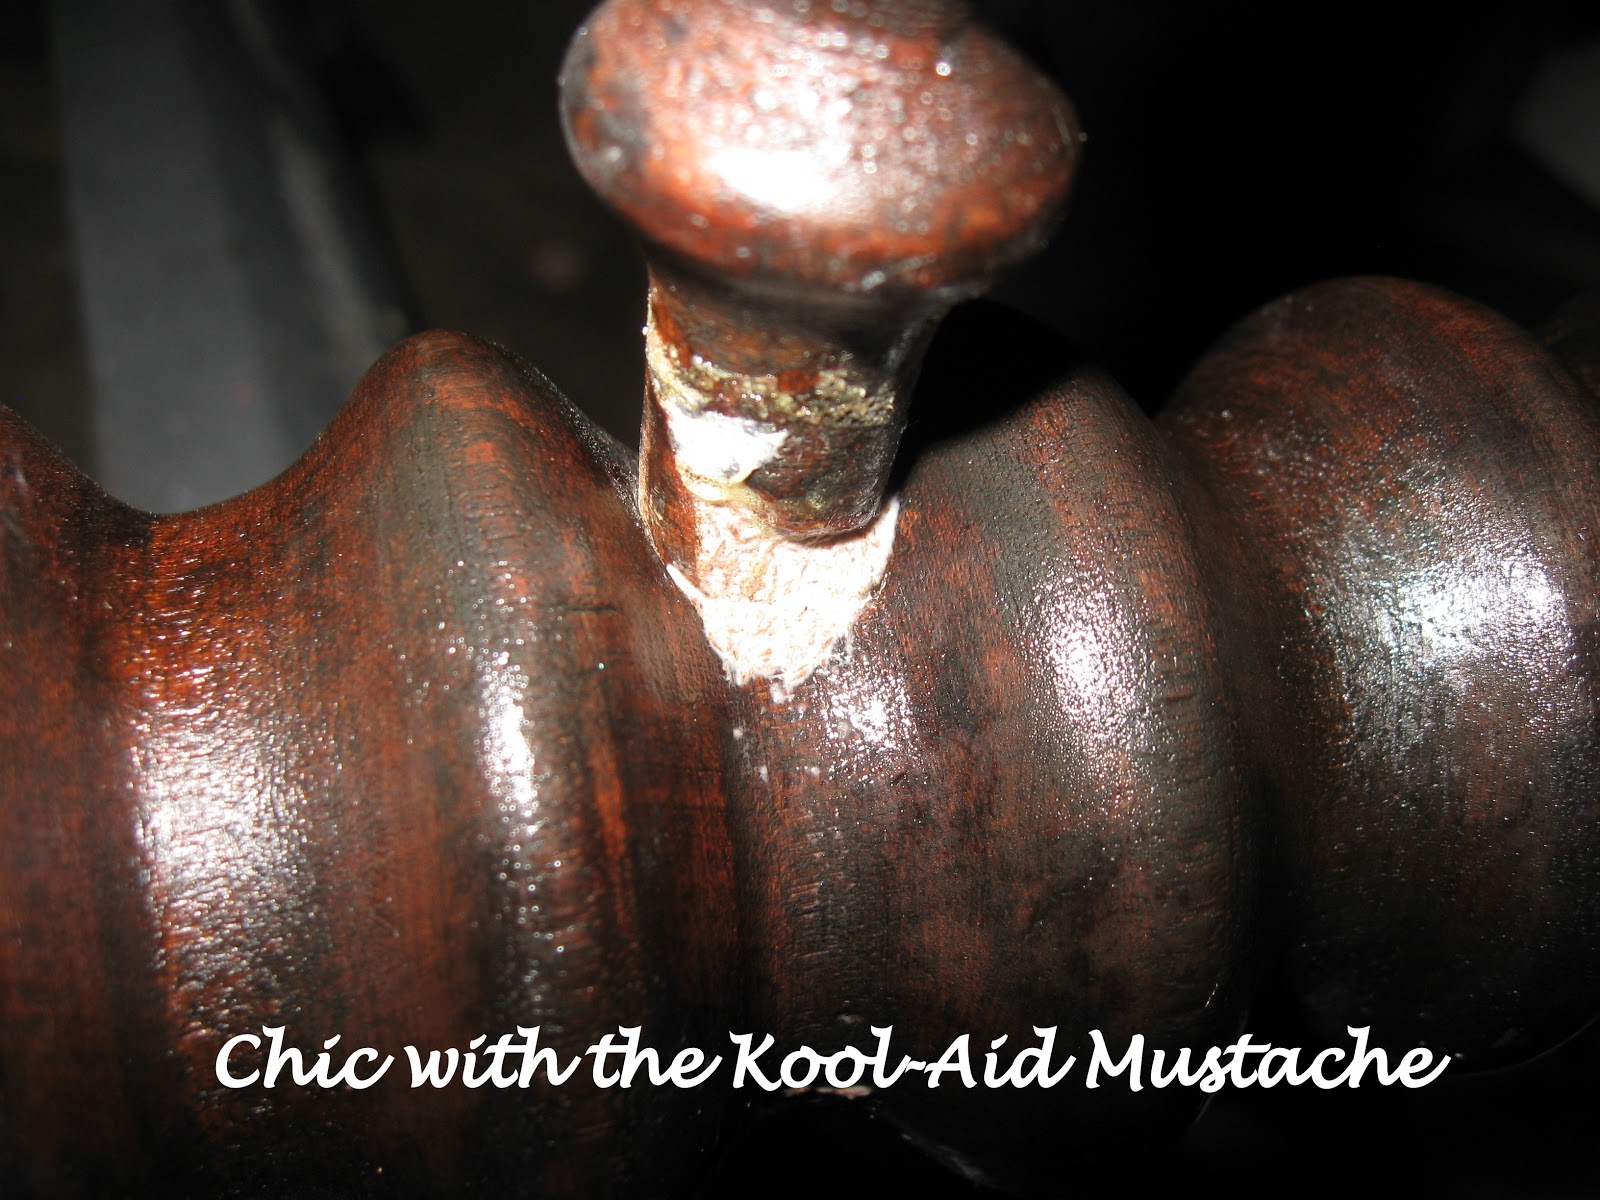
 |
| Totally blurry picture of the brackets |
We formed the box for the bench of the base using the sideboards with the original hardware on the frontside just like when used as a bed, and we used the original brackets meant to hold the box spring frame to attach it to the back. Once the box was fixed we had to figure out how to reattach the top rail and capture all the spindles between the rails. Every single one of those spindles was a different length and all different in one way or another. This piece of furniture had already been put back together several times and it was just loaded with this black stuff I had to pry off, some old wood glue and spots of Gorilla glue here and there as well. I had to clean all this gunk off of each spindle end and out of each of the spindle holes.


The top rail tapers slightly toward the end so the longest of the
spindles went on the outside, but it was trial and error after that. We
finally got an order that seems to work so I numbered each spindle and where it goes on the rail and I glued it all back together. I clamped it all together and waited for it to dry for a few days.

While I loaded the bottom holes up with glue when I glued them back in the tops of the spindles were just barely seated in the top holes so I had to secure them or they would just break off again. I brought it in and turned it upside down.


I made a filler using the sawdust I collected from the cuts we made and some wood glue. I also found some plastic droppers we purchased at some yard sale...somewhere...but they worked great.

I squeezed some of that mixture into each of the top holes to fill in whatever gap remained .

I cleaned up all the joints and left it all to dry for a few more days.

The two remaining pieces were enough length wise but the two of them were about 6 inches short of making the bench top, so we had to add in a non-original piece of wood. We had to do a little adjustment to compensate for the different thickness and we had to make it a little wider so we could create a small lip under the top.

I filled in all the holes the screws created with that wood-glue/sawdust concoction and let it dry...it took two applications to get them filled and level. The whole piece was then given a good sanding and I had to really sand the edges pretty heavily because they were so sharp, which of course took off all of the existing color.

I was a bit worried about how this would effect the final color and distressing but I pressed on. It was ready for a coat of paint now. I mixed up a batch of the DIY chalk paint w/plaster of paris in a flat latex primer/paint combo in antique white. I was so hesitant to paint it because the color was so gorgeous but I knew I'd never match that back piece of wood...ever...even-though-I'd-kill-myself-trying...so I did it.
I painted it!

I painted two coats of my chalk paint which covered it completely. Once it all dried I distressed it slightly to reveal the original wood color beneath in areas it would get worn with age. Of course my fear became reality when after distressing the piece, the areas I sanded look out of place with their lack of color...so how to fix this? Stain? Paint?

I happened to have to craft acrylics in my art stuff so I mixed up a brownish-red and re-sanded all those edges. I then used that paint as a stain as I painted it on then rubbed it in going over all those areas I had heavily sanded.

It worked! I then applied a thin layer of wax all over and buffed it out. I won't even begin to tell ya what a pain-in-the-butt it was to get into all those nooks and crannies! I did two more layers of wax and buffed them out till the wood felt smooth as glass.

This technique really accentuated the beautiful lines of the original piece, her legs are gorgeous.

The spindles and top rail distressed beautifully and the pictures just don't capture it well.

We were able to get it finished in time for our cookie date with Liz and I was so glad that she liked it! The real test was if her daughter would like it as much, since it was her Grandmothers bed that we hacked all up!

I was overjoyed when I received a text on Christmas morning from her daughter saying she loved it and thanks. It was the cherry on top of my Christmas...
She liked it!
Thanks to my hubby and reluctant partner SF, for making my vision happen!

I never had any doubts of how gorgeous the bench would be, Abbie is thrilled. And will always have her Grandmother's bed. Thank you so much Nadine and your reluctant partner for making it work so perfectly. I love you both.
ReplyDeleteLiz
Nadine...I really am enjoying reading your blog and seeing your projects come to life...you have more talent in your little finger then I will ever hope to have...your projects and writing are truly beatiful. *hugs* Jana
ReplyDeleteThis is amazeballs gorgeous, Nadine! So, so pretty!
ReplyDelete~Cindy
I have to tell you Nadine... I am not a "reader" of posts. I generally do a lot of skimming, and looking at pictures. I read every word of this post. :)
ReplyDeletethanks so much for your kind words about mrl, and for linking up.
Y'all did a fabulous job on this bench. Even I would be nervous about working on a family heirloom!
Love the distressing, what kind of wax did you use? I hate waxing, in fact it's nearly impossible with my bum shoulder.
gail
Thanks so much for stopping by Gail! I just used the Minwax I found at Wal-Mart but I was afraid it would yellow the piece a bit because it's slight mustardy color but I think the several light coats I did prevented the yellowing. I did find a fairly local Annie Sloan stockist so I may just invest the $$ into some Annie Sloan paint and wax...then again I'm cheap! Hope your shoulder is back to 100% soon!
DeleteNow THAT was a labor of love! It turned out awesome though! I love the picture of it all bandaged up. Kind of looked like a patient after plastic surgery, and she turned out beautiful, just like a plastic surgery patient in the end. You and your hubby should be proud!
ReplyDeleteSo, so fabulous! Your bench turned out beautifully!
ReplyDeleteJenn/Rook No. 17
Wow Nadine! The bench turned out just fabulous!! Absolutely beautiful!!
ReplyDeletePerfect!! I can see why she loved it...I would too :)
ReplyDeleteI am so impressed by all of you ladies (and reluctant helpers) for persevering and turning out such beautiful pieces. Very nice. VERY VERY nice.
ReplyDelete~Faith Haislet